
A stuck teleconverter on camera body vintage can occur due to dirt, wear, or misalignment in the mount. Gently release the locking mechanism, align marks, and twist carefully to avoid damage. Regular cleaning and proper storage help prevent future sticking issues.
“Stay tuned with us as we dive deep into the causes, solutions, and prevention tips for stuck teleconverter on camera body vintage, helping you protect and maintain your classic photography gear.”
Introduction to Stuck Teleconverter on Camera Body Vintage Issue
Vintage cameras hold a special charm for photographers who appreciate classic craftsmanship and timeless design. However, these older systems also come with unique maintenance challenges. One of the most frustrating problems enthusiasts face is a stuck teleconverter on camera body vintage — a situation where the teleconverter refuses to detach from the camera. This can happen due to mechanical wear, dirt buildup, or even improper mounting.
If left unresolved, a stuck teleconverter can risk damaging both the converter and the camera body. For collectors, hobbyists, and professional photographers working with vintage gear, understanding how to address this problem is essential. Removing it safely requires patience, proper technique, and a clear understanding of how these devices work.
In this comprehensive guide, we will explore what teleconverters are, why they get stuck, how to remove them step-by-step, safe tools to use, and preventive measures to avoid the problem in the future. Whether you’re restoring an old SLR, experimenting with a vintage lens setup, or simply maintaining your collection, this article will give you the knowledge and confidence to handle the challenge.
What is a Teleconverter and How It Works on Vintage Cameras
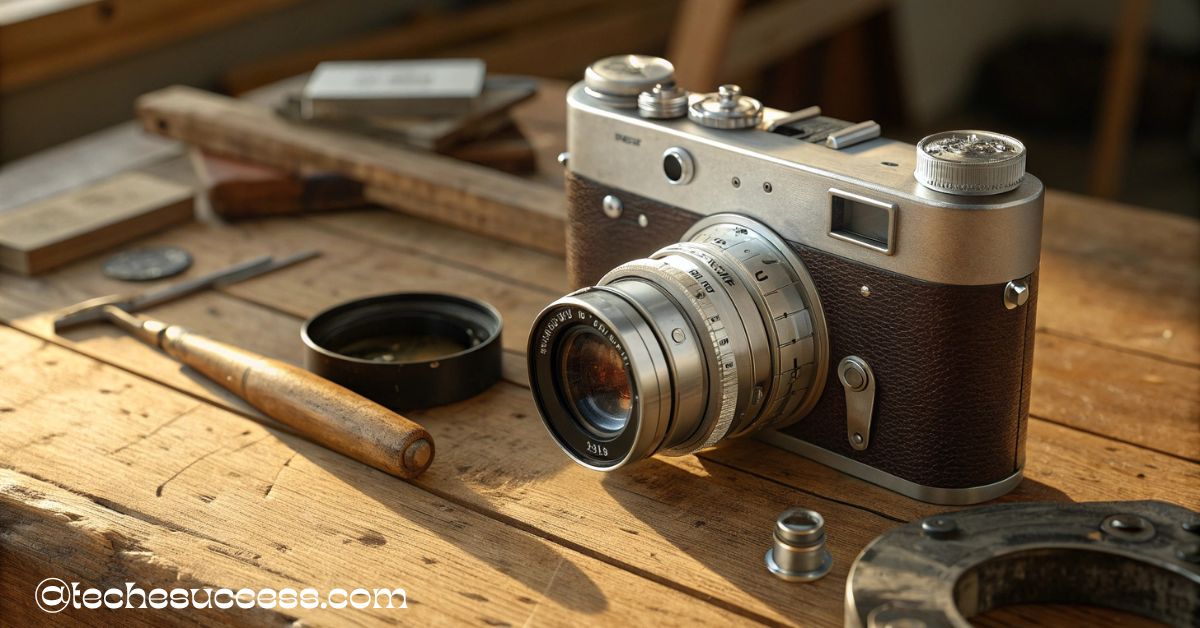
A teleconverter, also known as a tele extender, is an optical device placed between the camera body and the lens to increase focal length. Common ratios include 1.4x, 2x, or even 3x, meaning your lens’ focal length is multiplied by that factor. For example, a 100mm lens with a 2x teleconverter effectively becomes a 200mm lens.
On vintage cameras, teleconverters were often designed with sturdy metal mounts and precision alignment mechanisms. They usually attach using a bayonet or screw mount, locking into place with a spring-loaded pin or latch. This ensures stability while shooting but also means that removal requires correct alignment and proper release.
Vintage teleconverters often lack modern conveniences like quick-release buttons or electronic contacts. Their construction is purely mechanical, relying on precise machining and user care. Over time, however, mechanical components can wear down or seize up. Dust, corrosion, or dried lubricants can cause the locking pin to jam, making the teleconverter difficult to remove from the camera body.
Understanding this mechanical relationship is the first step in resolving a stuck teleconverter on camera body vintage problem. Knowing how the device is intended to function allows you to troubleshoot issues without forcing parts and causing damage.
Why Teleconverters Get Stuck on Vintage Camera Bodies
Several factors contribute to a teleconverter becoming stuck on a vintage camera body. The most common cause is mechanical wear and tear. Over decades of use, the locking pin mechanism can lose its smooth action, becoming stiff or misaligned.
Another frequent culprit is dirt or debris. Dust particles, tiny sand grains, or even dried grease from the mount can lodge themselves inside the locking mechanism. In humid climates, rust or corrosion can also play a role. Vintage equipment stored in damp environments is particularly vulnerable to this.
Improper mounting is another cause. If the teleconverter is not aligned correctly before twisting it into place, the locking pin may engage incorrectly, making it difficult to release. Overtightening the mount during installation can also cause the parts to bind together.
Temperature changes can play a subtle role as well. Metal expands and contracts with temperature shifts. If your teleconverter and camera body have slightly different metal compositions, they may expand at different rates, causing a temporary binding effect.
In many cases, the reason a stuck teleconverter on camera body vintage situation arises is a combination of these factors. Understanding the underlying causes can help you approach the removal process more strategically, reducing the risk of damage.
Common Signs Your Teleconverter is Jammed
Recognizing the early signs of a jammed teleconverter can save you from escalating the problem. One clear sign is when the lens release button or lever feels stiff, unresponsive, or fails to spring back after being pressed. This indicates that the locking pin may not be retracting fully.
You might also notice resistance when attempting to rotate the teleconverter to the removal position. If it feels unusually tight or only moves a fraction of the way before stopping, this is a strong sign of binding. Another indication is misalignment — if the teleconverter doesn’t sit flush against the camera body, the mounting points may be partially engaged, causing uneven pressure on the locking mechanism.
In some cases, you may hear a faint grinding sound when attempting to twist the teleconverter. This often points to grit or dirt trapped in the mount. Similarly, a “click” that feels sharper than usual during attachment could mean the locking pin is catching on a worn or damaged mount groove.
Addressing these signs early, rather than forcing the teleconverter off, can prevent permanent mechanical damage to your valuable vintage gear.
Step-by-Step Guide to Remove a Stuck Teleconverter
The safest way to remove a stuck teleconverter on camera body vintage is to follow a methodical process:
Step 1 – Prepare Your Workspace
Find a clean, well-lit surface to work on. Lay down a soft cloth to protect your camera body and teleconverter from scratches.
Step 2 – Release the Locking Mechanism
Locate the lens release button, lever, or slider on your camera body. Press or slide it fully in the intended direction while attempting to rotate the teleconverter. Some vintage models require a firm push and simultaneous twisting motion.
Step 3 – Align the Mounting Marks
Ensure the alignment dots or index marks on the teleconverter and camera body match perfectly. Misalignment is a common reason for binding.
Step 4 – Gentle Rotational Pressure
Hold the camera body firmly with one hand and the teleconverter with the other. Apply steady, even pressure in the correct removal direction. Avoid jerky or excessive force.
Step 5 – Addressing Stubborn Cases
If the teleconverter still won’t budge, try slightly rotating in the opposite direction before attempting removal again. This can help release tension on the locking pin.
Step 6 – Test After Removal
Once removed, inspect both mounts for dirt, corrosion, or damage. Clean as necessary before reattaching.
Patience is crucial. Forcing components apart risks bending the mount, damaging threads, or breaking the locking pin entirely.
Safe Tools and Techniques for Removing a Jammed Teleconverter
Sometimes, bare hands aren’t enough. In these cases, the right tools can make a difference — but they must be used carefully.
A rubber jar opener pad can improve grip without scratching the metal. Soft rubber camera grip pads are even better, as they’re designed for sensitive surfaces. For stubborn cases caused by temperature-related binding, gently warming the teleconverter with a hairdryer on a low setting can slightly expand the metal, loosening the fit.
Tweezers or toothpicks can sometimes be used to depress a stuck locking pin, but this should only be attempted if you have a clear view of the mechanism and understand its operation. Applying a small amount of camera-safe lubricant to the pin area can also help, but avoid getting it on optical elements.
Below is a quick comparison of safe vs. unsafe methods:
| Safe Techniques | Unsafe Techniques |
| Rubber grip pads | Pliers or metal wrenches |
| Low-heat hairdryer | Excessive heat or open flames |
| Camera-safe lubricant | Household oils (may damage coatings) |
| Gentle manual twisting | Forceful jerking or hammering |
These tools and techniques should always be applied with caution, keeping the preservation of your vintage gear as the top priority.
When to Seek Professional Camera Repair Help
If you have tried all safe removal techniques and your teleconverter remains stuck, it’s time to consult a professional. Camera repair specialists have the experience and specialized tools to handle such issues without causing further damage.
Attempting complex mechanical disassembly without the proper skills can lead to bent mounts, scratched lenses, or even broken camera bodies. For rare or collectible cameras, professional repair is almost always worth the cost compared to the risk of permanent damage.
Additionally, a technician can inspect your camera and teleconverter for underlying issues, such as worn locking mechanisms or damaged threads, and make preventive adjustments. This ensures the problem doesn’t reoccur.
Many vintage camera repair shops also offer cleaning and lubrication services, which can extend the life of your gear and keep all mechanical parts moving smoothly.
Preventing Teleconverter Sticking Issues in the Future
Preventing a stuck teleconverter on camera body vintage is much easier than dealing with one. Start by keeping all mounting surfaces clean. Use a soft brush or microfiber cloth to remove dust before attaching your teleconverter.
Always align mounting dots carefully before twisting the teleconverter into place. Avoid overtightening — the locking mechanism should engage with a firm but gentle twist. Store your camera and teleconverter in a dry, temperature-stable environment to prevent corrosion and metal expansion.
Regularly operate the release button or lever, even when the teleconverter is not attached, to keep the mechanism moving freely. Applying a tiny amount of camera-safe lubricant to moving parts once or twice a year can also help maintain smooth operation.
By incorporating these habits into your routine, you can greatly reduce the likelihood of encountering a stuck teleconverter in the future.
Caring for Your Vintage Camera and Teleconverter Mount
Vintage camera maintenance is an ongoing process. In addition to preventing teleconverter issues, regular care ensures your gear stays functional for decades to come. Clean the mount area after each use, especially if shooting outdoors. Inspect for signs of wear, such as scratches on the bayonet flanges or stiffness in the locking pin.
When storing, keep your camera and teleconverter capped to prevent dust entry. Use silica gel packets in your storage case to control humidity. For long-term storage, it’s a good idea to detach accessories like teleconverters and lenses to prevent pressure on mounts.
If you notice unusual resistance when attaching or removing components, stop immediately and investigate. Small issues can often be resolved quickly before they develop into serious mechanical problems.
Final Thoughts on Fixing a Stuck Teleconverter on Camera Body Vintage
Working with vintage camera gear can be deeply rewarding, but it also requires patience and knowledge. A stuck teleconverter on camera body vintage may seem like a daunting problem, but with the right techniques, it’s often possible to resolve the issue without damage.
By understanding how teleconverters work, recognizing the signs of trouble early, using safe removal methods, and maintaining your gear regularly, you can keep your vintage setup in excellent condition for years to come. When in doubt, professional repair services are your safest option — protecting the value and functionality of your cherished camera.
FAQ’s
Q1: Can I use WD-40 to loosen a stuck teleconverter?
No. WD-40 and similar household oils can damage coatings and attract dust. Use only camera-safe lubricants in small amounts.
Q2: Is it safe to freeze or heat my teleconverter to loosen it?
Avoid extreme temperature changes. Gentle warming with a hairdryer on low heat is acceptable, but freezing can cause condensation damage.
Q3: How often should I clean my teleconverter mount?
After every few uses, or more frequently if you shoot in dusty or sandy environments.
Q4: Can a stuck teleconverter permanently damage my camera?
If forced, yes. This can bend the mount or break locking pins. Always use gentle, safe methods.
Q5: Are vintage teleconverters compatible with modern cameras?
Some are, with the right adapters, but mechanical and optical performance may vary.
Also Read:
- Retroscope Camera: Complete Guide, Review & Buying Advice!
- Pet Camera Captures Dog Misbehaving – Causes, Fixes & Best Tools
- Pending Camera Check in Tactacam: What You Need to Know!