If you’re facing C4D camera clipping but viewport is turned off, the issue likely comes from the camera’s near and far clipping settings—not the viewport itself. Even with the viewport disabled, clipping is controlled by the camera’s view frustum. To fix it, adjust the clipping planes in the camera’s object settings or use view clipping presets.
“Stay tuned with us — we will soon dive deeper into solutions, expert tips, and advanced fixes for C4D camera clipping but turned off viewport, helping you work smoothly without visual glitches in Cinema 4D…”
Introduction: Understanding C4D Camera Clipping with Viewport Turned Off
Cinema 4D (C4D) is a powerful 3D modeling and animation tool widely used in industries like motion graphics, VFX, architecture, and product design. However, even experienced users sometimes encounter unexpected issues that affect their workflow. One such puzzling problem is when the C4D camera clipping persists even though the viewport is turned off. This situation can lead to objects being cut off or vanishing unexpectedly from the screen, disrupting both modeling and animation tasks.
If you’re facing the challenge where “C4D camera clipping but turned off viewport” still causes visual disruptions, you’re not alone. Understanding why this happens and how to fix it is essential for smooth scene navigation and accurate renders. This article walks you through a comprehensive breakdown of what camera clipping is, why it continues even when the viewport is off, and how you can effectively solve or prevent it.
Let’s dive into the core concepts and practical solutions that will help you take control of clipping issues in Cinema 4D.
What Is Camera Clipping in Cinema 4D?
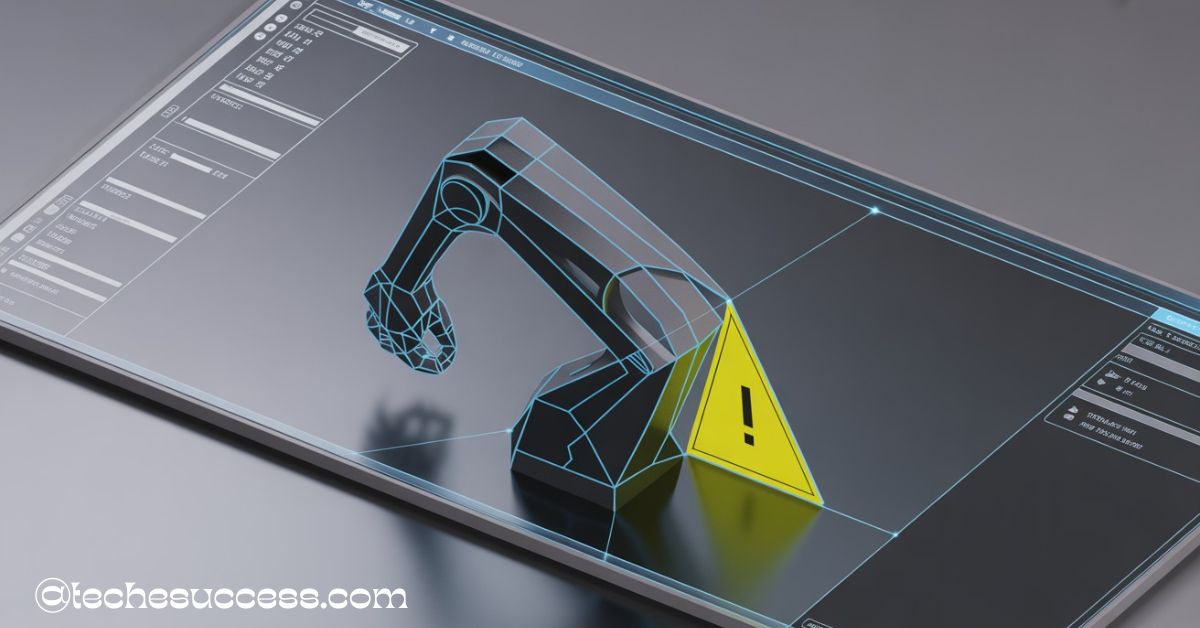
Camera clipping in Cinema 4D refers to the visual cutoff of objects that fall outside the camera’s defined viewing range. Every camera in a 3D environment, including those in C4D, has two clipping planes: near and far. These planes define the minimum and maximum distances from the camera at which objects will be visible. If an object is closer than the near plane or further than the far plane, it becomes invisible in the viewport or render.
This mechanism is essential for performance optimization, as it prevents the system from rendering elements that are too far away or irrelevant. However, when the clipping planes are not configured properly, parts of your model may disappear, making it difficult to model or animate accurately. Understanding how these planes work is the first step in resolving any related issues.
In C4D, you might notice objects disappear as you zoom in or out. That’s likely due to the current clipping settings. Whether you are working on a large architectural scene or a small object, incorrect clipping values can cause confusion and errors.
Why Camera Clipping Still Occurs When Viewport Is Turned Off
A common misconception among C4D users is that turning off the viewport will also disable any clipping-related issues. Unfortunately, this is not how Cinema 4D works. The viewport and the render engine are separate components, each with its own set of parameters. Therefore, camera clipping can persist even when the viewport is turned off because it is still governed by the camera’s settings or project scale.
When the viewport is off, C4D still calculates visibility based on the camera’s view frustum. If the near or far clipping values are poorly configured, objects will continue to be excluded from view. Additionally, viewport rendering caches or OpenGL limitations may still impact the visibility of objects, depending on the system settings.
This continued clipping behavior is especially problematic during complex animation or modeling tasks where accurate visual feedback is critical. To resolve this, users must address the root causes through camera and scene configuration rather than relying on turning off the viewport.
How to Identify Clipping Issues in Cinema 4D
Recognizing camera clipping in Cinema 4D is usually straightforward. If parts of your model vanish when zooming in or out, you’re likely dealing with a clipping issue. You may also notice that entire objects disappear when switching camera views or that only certain components are cut off in the middle.
Another telltale sign is if objects seem to flicker or reappear inconsistently during navigation. This flickering can result from dynamic shifts in the view frustum as you pan or dolly the camera. Diagnosing these symptoms correctly is essential before jumping to solutions.
To isolate clipping as the cause, try the following steps:
- Switch between different viewports (Perspective, Front, etc.) and observe changes.
- Temporarily scale your scene up or down to see if visibility improves.
- Reset the camera’s clipping planes to default and check for improvements.
- Use the camera’s coordinates to verify the object’s relative distance from it.
Once you confirm clipping as the issue, proceed to fix it by adjusting the relevant settings, as covered in the next section.
How to Adjust Camera Clipping Settings in Cinema 4D
Cinema 4D provides flexible control over camera clipping settings, allowing you to modify both the near and far planes according to your scene requirements. To access these options, select your camera, then navigate to the Object tab. Under the Clipping settings, you’ll see options for Near Clipping and Far Clipping distances.
By default, C4D automatically adjusts these values based on your scene size. However, in many cases—especially in high-detail scenes—manual adjustments are necessary. Setting the Near Clipping Plane too close can cause small objects to disappear, while an overly large Far Clipping Plane may unnecessarily render distant geometry, impacting performance.
Here’s a quick guide to adjusting clipping settings effectively:
- Set the Near Clipping Plane to a small positive value (e.g., 0.1 to 10 units) depending on scene scale.
- Increase the Far Clipping Plane as needed to ensure all relevant geometry is visible.
- Avoid extremely large ranges, as they can cause precision issues in the viewport.
By fine-tuning these settings, you can eliminate most clipping problems while maintaining optimal performance.
Using View Clipping Presets: Tiny, Small, Medium, Large
In addition to manual adjustments, Cinema 4D offers View Clipping Presets that provide quick fixes for common clipping issues. These presets—Tiny, Small, Medium, and Large—automatically set appropriate near and far values based on the expected scene scale.
To access these presets:
- Go to the Viewport Options.
- Locate the View Clipping dropdown.
- Select the preset that best matches your scene scale.
Here’s a comparison of what each preset typically covers:
| Preset | Near Clipping | Far Clipping | Suitable For |
| Tiny | 0.01 units | 1,000 units | Miniature models, jewelry |
| Small | 1 unit | 10,000 units | Product design, props |
| Medium | 10 units | 100,000 units | Characters, furniture |
| Large | 100 units | 1,000,000 units | Architecture, landscapes |
Choosing the right preset saves time and ensures you’re working within a practical visibility range.
Viewport vs Render Frustum: What’s the Difference?
Understanding the difference between the viewport frustum and the render frustum is key to resolving clipping issues effectively. The viewport frustum governs what you see during modeling and navigation, while the render frustum defines what gets calculated and output during rendering.
Viewport clipping issues usually arise due to camera or system limitations, such as OpenGL rendering bounds. These are not always reflective of what will appear in the final render. Conversely, render clipping is determined by the camera’s near/far values and render settings.
This distinction explains why “C4D camera clipping but turned off viewport” scenarios can be misleading. You might expect the viewport to disable clipping effects, but the render frustum still processes scene geometry based on defined limits. To avoid surprises, always preview your scenes using the camera view and render region.
Fixing Clipping with OpenGL Shading and Software Mode
Sometimes, clipping issues are not caused by camera settings but by the viewport rendering engine itself. Cinema 4D uses OpenGL for viewport display, which can occasionally introduce limitations or visual artifacts—especially on lower-end GPUs or complex scenes.
If you suspect OpenGL is the culprit, switch to Software Shading Mode:
- Go to Viewport Settings > Display.
- Change the render mode from OpenGL to Software Shading.
This mode is slower but more accurate in terms of visibility. It eliminates most display artifacts and helps verify whether clipping is caused by rendering rather than camera configuration.
While not a long-term solution for performance-heavy scenes, software shading is a valuable diagnostic tool. If switching modes resolves your issue, consider updating your GPU drivers or reducing the scene’s polygon complexity.
Scene Scale and Its Impact on Clipping in C4D
Scene scale plays a critical role in how clipping behaves in Cinema 4D. Large scenes, such as architectural models or landscapes, require broader near/far clipping ranges to ensure full visibility. Conversely, small-scale scenes demand tighter clipping to avoid precision errors.
If you design a building but use tiny values for clipping planes, essential parts might vanish or flicker. Similarly, working on a ring model with overly large clipping values can introduce viewport jitter and slow navigation.
To optimize scale:
- Use real-world units (meters, centimeters, etc.) to stay consistent.
- Match your clipping values or presets to your scene’s actual size.
- When importing models from other software, rescale them properly before adjusting the camera.
By maintaining scale integrity, you minimize clipping and ensure better viewport and render consistency.
Using Long Lens Instead of Isometric to Prevent Clipping
The choice of camera type also influences clipping behavior. Isometric or orthographic cameras tend to exaggerate clipping, especially in dense or layered scenes. These cameras don’t have a vanishing point, which can lead to flat geometry being misinterpreted by the viewport.
To resolve this, switch to a long lens perspective camera. This camera type maintains depth and allows finer control over clipping planes. While it won’t perfectly replicate isometric views, you can adjust the lens focal length to approximate a flat look without introducing clipping.
To make the switch:
- Create a new camera.
- Set the focal length to 200mm or more.
- Match the position and angle of the original isometric camera.
This workaround offers better visibility without compromising the intended visual style.
Locking Camera Views and Keyframes to Avoid Angle Issues
Camera angle and motion inconsistencies can also exacerbate clipping issues. If the camera is accidentally rotated or moved during animation, the relative distance to objects may change, triggering clipping unexpectedly.
To prevent this:
- Lock your camera by right-clicking on its coordinates and choosing Protection Tag.
- Use keyframes to control intended motion and avoid accidental edits.
- Save a backup of your default camera layout.
By maintaining a consistent camera path, you reduce unexpected viewpoint shifts that can distort your scene or reveal clipping issues mid-production.
Troubleshooting Checklist: Camera Clipping with Viewport Off
If you’re still experiencing camera clipping even after turning off the viewport, follow this quick troubleshooting checklist:
- Verify camera clipping settings in the Object tab.
- Check the View Clipping Preset in the viewport.
- Test Software Shading Mode to rule out OpenGL issues.
- Match your scene scale with appropriate clipping distances.
- Switch camera types if using isometric views.
- Lock camera position to prevent accidental shifts.
- Restart Cinema 4D or test on another machine to rule out hardware glitches.
Working through these steps systematically helps identify the root cause and resolve the issue without disrupting your workflow.
Best Practices to Avoid Camera Clipping in Cinema 4D
Preventing clipping issues from the start is always better than fixing them later. Here are some best practices:
- Use proper scene units: Set the correct unit scale in project settings before modeling.
- Regularly adjust clipping presets: Especially after major changes in scale or object size.
- Use layers and groups: To isolate and hide elements when needed, improving clarity.
- Preview with the camera view: Don’t rely solely on perspective or orthographic views.
- Optimize geometry: Clean models help reduce rendering issues and visibility glitches.
Sticking to these practices ensures you’ll face fewer surprises and maintain a smoother creative process.
Conclusion: Solving “C4D Camera Clipping but Turned Off Viewport” Effectively
While it may seem confusing at first, the issue of C4D camera clipping but turned off viewport can be tackled effectively with the right knowledge and settings. By understanding how clipping planes work, adjusting them to fit your scene, and using appropriate camera and shading settings, you can eliminate most visibility issues. Combine this with smart workflow habits like locking cameras and using real-world units, and you’ll rarely encounter clipping disruptions again.
Whether you’re creating detailed products or massive architectural models, mastering clipping control ensures your creative vision is always visible, both in the viewport and final render.
FAQs
Q1: Why does my model still clip even when the viewport is disabled in C4D?
Because clipping is controlled by the camera’s settings, not just the viewport display. You need to adjust near and far clipping planes directly.
Q2: Can I disable camera clipping completely in Cinema 4D?
No, but you can set the near/far values to extremely wide ranges to avoid practical clipping during modeling.
Q3: Is viewport clipping different from render clipping in C4D?
Yes. Viewport clipping affects what you see while working. Render clipping determines what appears in your final output.
Q4: Does OpenGL affect camera clipping visibility?
Yes, sometimes GPU rendering via OpenGL introduces artifacts. Switching to software shading can help identify if it’s the cause.
Q5: How can I tell if clipping is due to scene scale or camera settings?
Try scaling the scene or adjusting the clipping planes. If visibility improves, it was likely a mismatch in scale.
Also Read:








Leave a Reply